Be the first to get a taste of our a next big idea in healthy, green fun!
           
About     Blog     Contact     FAQ     Press     Shop

Archive for the ‘Decor’ Category

Handmade Christmas Wreath (Smells like Pine Needles!)

Wednesday, December 14th, 2011
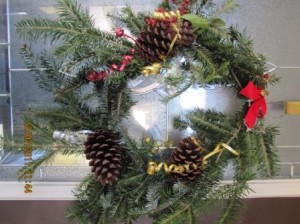
"Christmas Wreath."

Make a handmade Christmas wreath using raw materials for a Green Christmas!

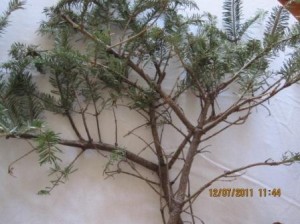
"Real Christmas Tree Clipping."

Use free real Christmas tree clippings from Home Depot to create the perfect wreath

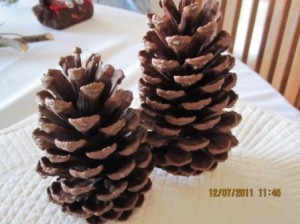
"Pinecone Decorations."

Add pinecone love to your wreath using raw materials

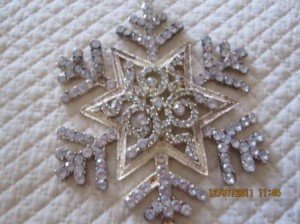
"Snowflake Ornament."

A snowfake ornament can add a dash of whimsy to your wreath


"Wrapping Ribbon."

Curl wrapping ribbon for your wreath on the cheap


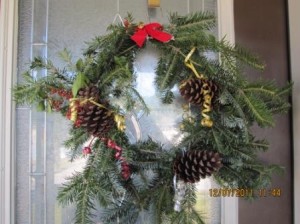
"Organic Christmas Wreath."

Organic Materials: Coathanger frame, tree trimmings, pinecones, all pulled together with twine. Decorate as you wish!


Blogger Laurali Star can be found on her blog, Charming Laurali Star, and on her site, The Damsel in the Attic, where she sells handmade and vintage clothing and accessories.  Another fab way to help reduce, reuse, and recycle!  Check it out!

Green Halloween® is a nationwide non-profit initiative started by mother-daughter team Corey Colwell-Lipson and Lynn Colwell. In 2010, Green Halloween became a program of EcoMom® Alliance and has events in cities across the U.S.

Soap and Washcloth Christmas Craft

Wednesday, December 7th, 2011

Get crafty and recycle by using up an old wash cloth and a wrapped bar of soap to make a reindeer!

Here is an easy Christmas craft that you can make using recycled products from around the house!  This is also a great craft that can be used for kids Christmas parties, in the classroom, or at home with mom and dad.  Parents can take the reins with the hot glue gun with small children while the kids pick and choose items to decorate the reindeer with glee!

What you Need:

  • A glue gun
  • Googly eyes
  • Little craft bows and beads
  • Brown Pipe Cleaners
  • An old wash cloth, preferably brown
  • A bar of soap
  • Lots of imagination!
 

"Bar of Soap Reindeer."

Reindeer made easy with 1,2,3 steps!


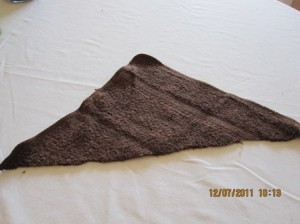
"Brown Washcloth."

Step One: Cut brown wash cloth in half to wrap around a bar wrapped bar of soap. Fold over and hot glue in place.


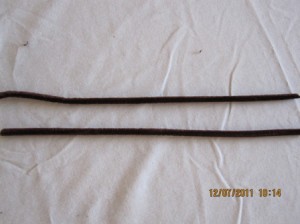
"Brown Pipe Cleaner."

Step Two: Tie brown pipe cleaners around each ear to make antlers

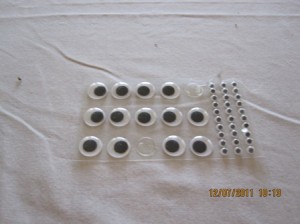
"Package of Googly Eyes."

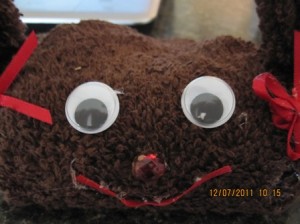
Step Three: I spy googly eyes to give my reindeer the gift of sight!

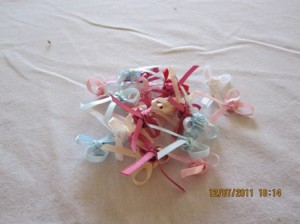
"Assortment of Doo Dads."

Step Four: Hot glue craft bows, doo dads, and beads to decorate your reindeer with style!

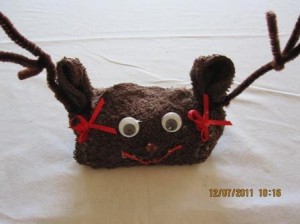
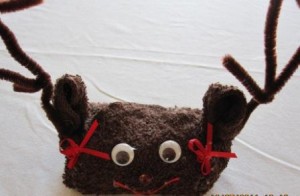
"Soap and Washcloth Craft."

Step Five: One very cute little reindeer gift or house decoration!


Blogger Laurali Star can be found on her blog, Charming Laurali Star, and on her site, The Damsel in the Attic, where she sells handmade and vintage clothing and accessories.  Another fab way to help reduce, reuse, and recycle!  Check it out!

Green Halloween® is a nationwide non-profit initiative started by mother-daughter team Corey Colwell-Lipson and Lynn Colwell. In 2010, Green Halloween became a program of EcoMom® Alliance and has events in cities across the U.S.

Handmade and Recycled Christmas Cards

Wednesday, November 30th, 2011
"Handmade Christmas Cards."

Make your Christmas cards with a lot of love!

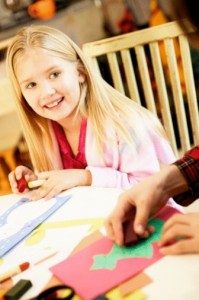
It’s that time of the year again…one way to take the stress off of giving cards is to have your children get involved in the creation process!  Warm up the oven, throw some cookies in, and sit down at the table to make some special memories. This is easy and fun for the whole family!

All You Need:

  • Glitter
  • Old Christmas Cards
  • Glue Sticks
  • Stickers
  • Washable markers and crayons
  • Magazine clippings
  • Poster board
  • Paints
  • Sewing buttons
  • Laminate
  • Scissors
  • Old and New Photographs
  • Christmas Spirit!
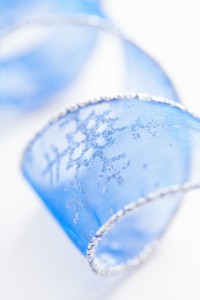
"Snowflake Ribbon Decoration."

Ribbon will embellish any card with a personal touch

One of my favorite things to do is take out old Christmas cards that I received the previous year, cut out the front picture or maybe even use the inside script, then paste it to a square, star, or heart-shaped piece of poster board.  Then add in the details with features such as, a snowman sticker, a ribbon at the top, or Merry Christmas written in glittery silver and gold!  The sky’s the limit on creativity!

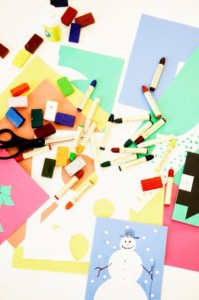
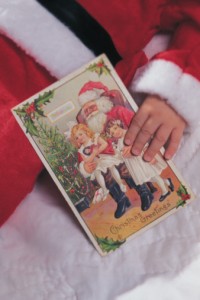
"Christmas Cards."

Recycle old Christmas Cards for a Green Christmas!

"Christmas art made by kids."

Your little picasso will love painting that snowman for Grandmother

Old and new photographs can also make a greeting card more personalized for family members that live far away!  Take out your glue stick and paste it on the front then laminate for that sheer effect.  Then decorate your card with all the bells and whistles.

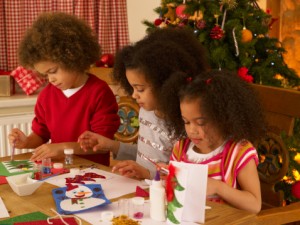
"Holiday Card Making."

Making cards as a family promotes family unity

This is a great family tradition that your kids will look forward to year after year.  Turn on a little Christmas music and dance while you work to spark your creativity!  Not much of a dancer?  There’s always those cookies that are baking in the oven to sweeten the mood.  The important thing is your together, your doing something for others, and your in the Christmas spirit!  All that’s left is to slip them into the mailbox as a treat for friends and family.

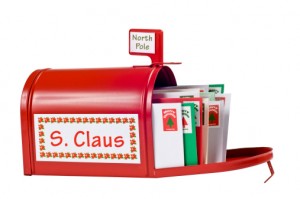
"Mailbox."

Let your kids place them in the mail to get a feel for giving!


Blogger Laurali Star can be found on her blog, Charming Laurali Star, and on her site, The Damsel in the Attic, where she sells handmade and vintage clothing and accessories.  Another fab way to help reduce, reuse, and recycle!  Check it out!

Green Halloween® is a nationwide non-profit initiative started by mother-daughter team Corey Colwell-Lipson and Lynn Colwell. In 2010, Green Halloween became a program of EcoMom® Alliance and has events in cities across the U.S.

Funny Food Art

Wednesday, November 16th, 2011
Ingredients

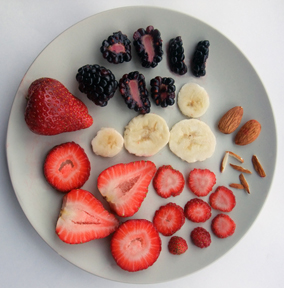
Bill sets out healthy foods on display to begin making butterfly food art
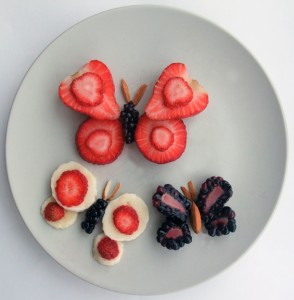
Butterfly Food Art

The end result: Beautiful and nutritious butterfly snacks!

I had the chance to chat up Bill and Claire Wurtzel on the phone recently and discovered a whole new world of happy as we discussed how to add healthy food choices to your child’s classroom menu, how to make fun food art, and the great love story of Bill and Claire!  All you need:

  • Imagination
  • An array of healthy foods set out on display
  • A willingness to teach and do
  • An Open-Heart and Mind

The Love Story:
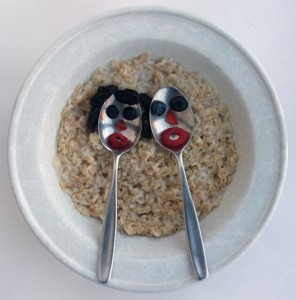
Bill and Claire

It turns out, love can be duplicated at breakfast!

Congratulations to Bill and Claire for celebrating their recent 5oth anniversary!  They are a warm and kind couple with a good cause that they want to share with the world.  Funny Food originated in the kitchen at their home in Manhattan, N.Y.C.  On Sunday mornings, Bill would make breakfast for Claire then create art couture from toast, fruits, eggs, and nuts all in hopes of getting a good laugh out of his wife.  About five years ago Claire prompted Bill to take pictures and the New York Times published them on March 2nd, 2011.  From love story to food story, Bill and Claire now have an up-coming Funny Food Book which will become available April 2012.

Healthy Food Workshops:

School Workshops 10-4

Bill and Claire have a message that they hope reach First Lady Michelle Obama in their quest for combating childhood diabetes and obesity as as getting children to eat a well-balanced breakfast.  Together they have visited New York City schools that have high rates of childhood obesity promoting interactive, hands on learning for kids.  They hold workshops in which they display nutritious breakfast from the different foods groups.  Claire, an educator, speaks up about nutrition while Bill models breakfast in his quirky, funny food way.  I was so inspired by my talk with them that I hope to transpire their ideas to Pinellas County Schools in Florida.  Want to make a difference?  Download copies and print copies to pass out at your next PTA meeting.
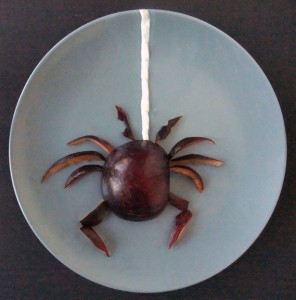
Plum Art

Bill Wurtzel's Anthroplum created for Green Halloween!
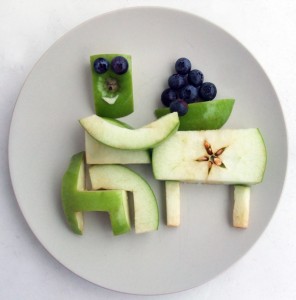
Mr. Appleman sits at the table for dinner

Let kids get creative by setting out a tray of pre-cut nutritious food shapes for art creation!
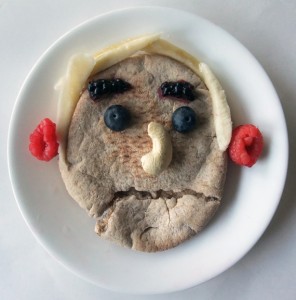
Mr. Pitaface

Take a pita and crack a smile! Who says you can't play with your food?
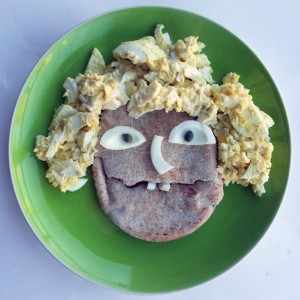
Egg Head

Take a pita, crack a smile, throw some eggs on top of her head for a funny hairstyle!
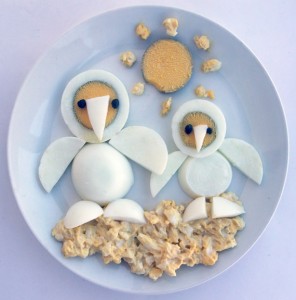
Penguin Breakfast

Take eggs and yolk and a lot of imagination to make a peggquin scene!
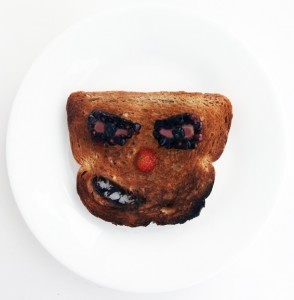
Angry Toast

Make sure your toast is gluten-free or whole-wheat for a healthy alternative

Bill’s Background:

Bill Wurtzel is a renowned guitarist and art director.  He improvises breakfast like a jazz solo!  Check out his musical abilities at Bill Wurtzel.
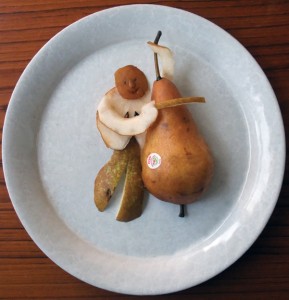

Pear Bassist

Bill places his love of jazz in this musically inclined Bosc Player!
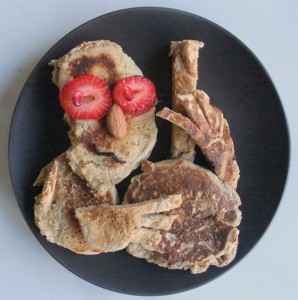
"Bass Playing Griddle!"

Panjo

Granddaughter Daniela:

The proud grandparents mentioned their little granddaughter Daniela a few times and since she lives right next door, its the perfect time for Bebop to make her breakfast too!  She gets in on the breakfast action by creating her own works of art.  Check it out and then prep your counter for foodie fun with your own kids!
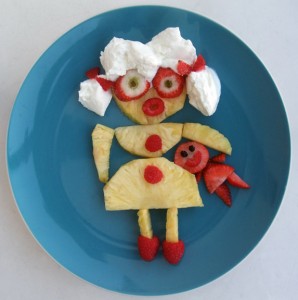
"Yellow Dolly."

Bebop Bill made this for Granddaughter Daniela for a healthy dessert
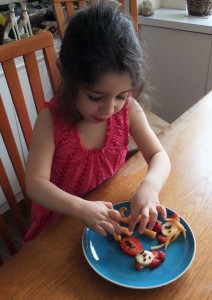
"4 year old Daniela Weiss."

4 year old Granddaughter Daniela Weis making her own art!
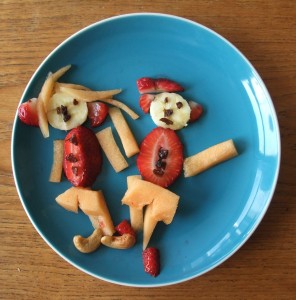
"Daniela's Foodie Art."

4 year old Daniela's fruity doll art!
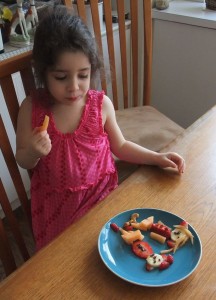
"Daniela Weiss."

Yummy, healthy food art kids just love to design
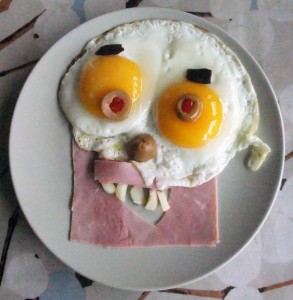
"Daniela and Bebop."

You do the cutting, let your kids create the art!
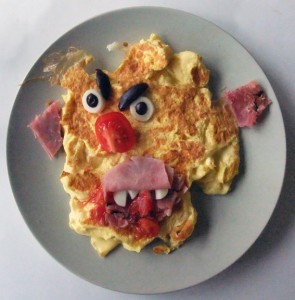
"Hallowegg."

Daniela made this scary face for Green Halloween! Good job!
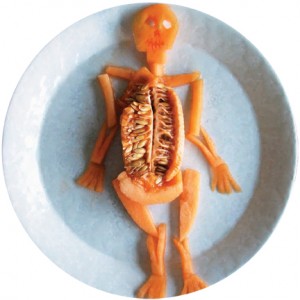
"Bones."

This Cantaloupe Skeleton was made especially for Green Halloween by Bill!

Look for Bill Wurtzel as we feature him in up-coming posts on Green Halloween!

Blogger Laurali Star can be found on her blog, Charming Laurali Star, and on her site, The Damsel in the Attic, where she sells handmade and vintage clothing and accessories.  Another fab way to help reduce, reuse, and recycle!  Check it out!

Green Halloween® is a nationwide non-profit initiative started by mother-daughter team Corey Colwell-Lipson and Lynn Colwell. In 2010, Green Halloween became a program of EcoMom® Alliance and has events in cities across the U.S.
“Scary” Food & Treat Ideas

Wednesday, October 26th, 2011
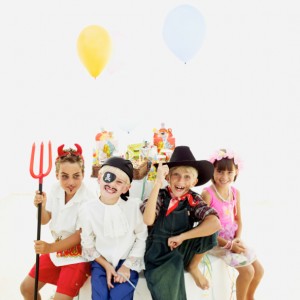
"Kids Halloween Party."

Trick or treat? Both! With scary foods and treats galore.

Have an up-coming Halloween party and don’t know what to make to feed your guests?  No worries!  Here are five scary foods and treats that are sure to monster rock the house down!

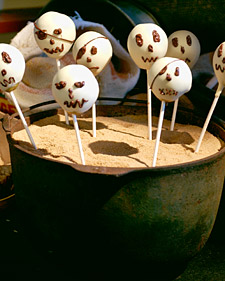
Scary Pear Heads:

"Ghost Lollipops."

Using Pears as your main ingredient makes for a fun and spooky treat!

Ingredients

  • 8 firm ripe Seckel pears
  • 1/2 pound organic white chocolate, coarsely chopped
  • 1 ounce semisweet organic chocolate, coarsely chopped

Directions

  1. Remove the stem from the pears. Using a wooden skewer, make a hole in the stem end of each pear. Insert a lollipop stick in each hole.
  2. In a double boiler or a heatproof bowl set over a pan of simmering water, melt white chocolate. Let stand until cool. Dip the pears in the chocolate, turning to coat. Stand the pears up in a piece of foam or oasis. Let stand until set, about 40 minutes.
  3. In a heatproof bowl set over a pan of simmering water, melt the semisweet chocolate. Let cool for 5 minutes. Fit a small pastry bag with a #4 tip, and fill with melted semisweet chocolate. Pipe chocolate onto pears to create facial features. Let stand until set, about 10 minute

Be sure to use chocolate with Fair Trade on the label!  For more fun recipes like this, check out Martha Stewart online!

Swamp Juice:

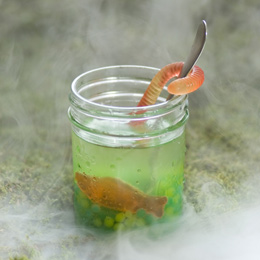
"Swamp Juice."

This spooky drink will creep out any party goer...in a delicious way!

Ingredients
  • FOR 8 SERVINGS:
  • 1/2 cup small tapioca pearls (found in the baking aisle of most grocery stores)
  • 100% natural food coloring
  • 4 tablespoons organic sugar
Instructions
  1. MAKE THE EGGS: Bring 6 cups of water to a boil and add the tapioca pearls. Reduce the heat slightly and boil the pearls, stirring occasionally, for 20 to 25 minutes.
  2. COLOR THE EGGS: Divide the pearls, with the remaining water, between two bowls. Add 4 drops of food coloring (we used 3 drops of yellow and 1 drop of green in one bowl, and 4 drops of blue in the other) and 2 tablespoons of sugar to each bowl. Stir the mixtures, then allow them to sit uncovered for 20 to 25 minutes. Drain and rinse the pearls with cold water.
  3. ASSEMBLE THE DRINK: Spoon 2 tablespoons of pearls into each glass and drop in a gummy fish. Fill the glasses with seltzer water, then add a splash of lemonade. Place a gummy worm around a spoon as shown.

Be sure to get use one of our fun sponsors for your gummy candy at Surf Sweets!  For more fun Halloween recipes similar to this one, check out Disney Family Fun!

Pizza Mummies:

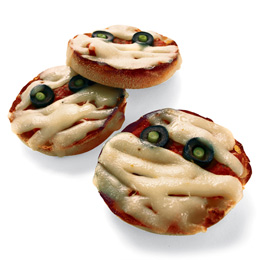
"Pizza Mummies."

Little mummies for mommy and her little kids too!


Ingredients (choose organic whenever possible)
  • English muffins
  • Pizza sauce
  • Black olives
  • Scallions
  • Red or green pepper
  • Cheese sticks or slices
Instructions
  1. Heat the oven to 350º F. For each mummy, spread a tablespoon of pizza sauce onto half of an English muffin (toast it first, if you like).
  2. Set olive slices in place for eyes and add round slices of green onion or bits of red or green pepper for pupils.
  3. Lay strips of cheese (we used a pulled-apart cheese stick) across the muffin for the mummy?s wrappings.
  4. Bake for about 10 minutes or until the cheese is melted and the muffin is toasty.

Be sure to use English Muffins that are whole grain and gluten free!

For more fun Halloween recipes similar to this one, check out Disney Family Fun!

Swamp Creatures:

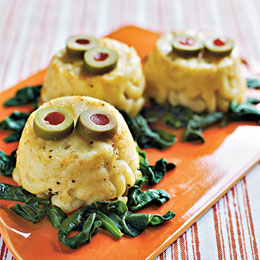
"Swamp Creatures."

Oooooey, Goooey Swamp Creatures that taste good!


Ingredients
  • All natural/organic Macaroni and cheese
  • Sautéed spinach
  • Olive slices
Instructions
  1. Mix up a batch of macaroni and cheese, then spoon it into greased muffin cups and bake until firm, about 25 minutes.
  2. Let the creatures rest for about 10 minutes, then gently remove them from the tins. Place them upside down on a swamp of sautéed spinach and add olive slice eyes.

Be sure to use whole grain, gluten free pasta for the macaroni!

For more fun Halloween recipes similar to this one, check out Disney Family Fun!

Slivered Scream Beans:

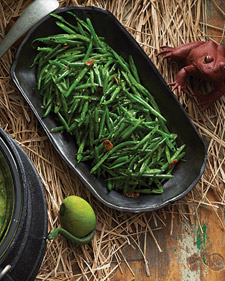
"Slivered Scream Beans."

Healthy and Scary at the same time!


Ingredients

  • 1 pound haricots verts
  • 2 tablespoons extra-virgin olive oil
  • 3 garlic cloves, thinly sliced
  • 1 tablespoon finely chopped peeled fresh ginger
  • 1/2 Thai chile, thinly sliced
  • Coarse salt
  • 1 1/2 teaspoons black sesame seeds (kalustyans.com)
  • 1 teaspoon finely grated lemon zest

Directions

  1. Prepare an ice bath. Bring a 4-quart pot of lightly salted water to a rolling boil. Add haricots verts, and blanch until vibrant green, about 5 minutes. Drain in a colander, and transfer to ice bath. Let stand until cool. Drain in colander, and thinly slice haricots verts on the bias.
  2. Heat oil over medium-high heat in a large skillet. Add garlic, and cook until just golden, 1 minute. Add ginger and chile, and cook for 1 minute more. Add blanched haricots verts, and cook, tossing, until heated through. Season with salt. Add sesame seeds and lemon zest, and toss to combine.

For more fun recipes like this, check out Martha Stewart online!

Blogger Laurali Star can also be found on The Damsel in the Attic!

Green Halloween® is a nationwide non-profit initiative started by mother-daughter team Corey Colwell-Lipson and Lynn Colwell. In 2010, Green Halloween became a program of EcoMom® Alliance and has events in cities across the U.S.